Add or Edit Email Template

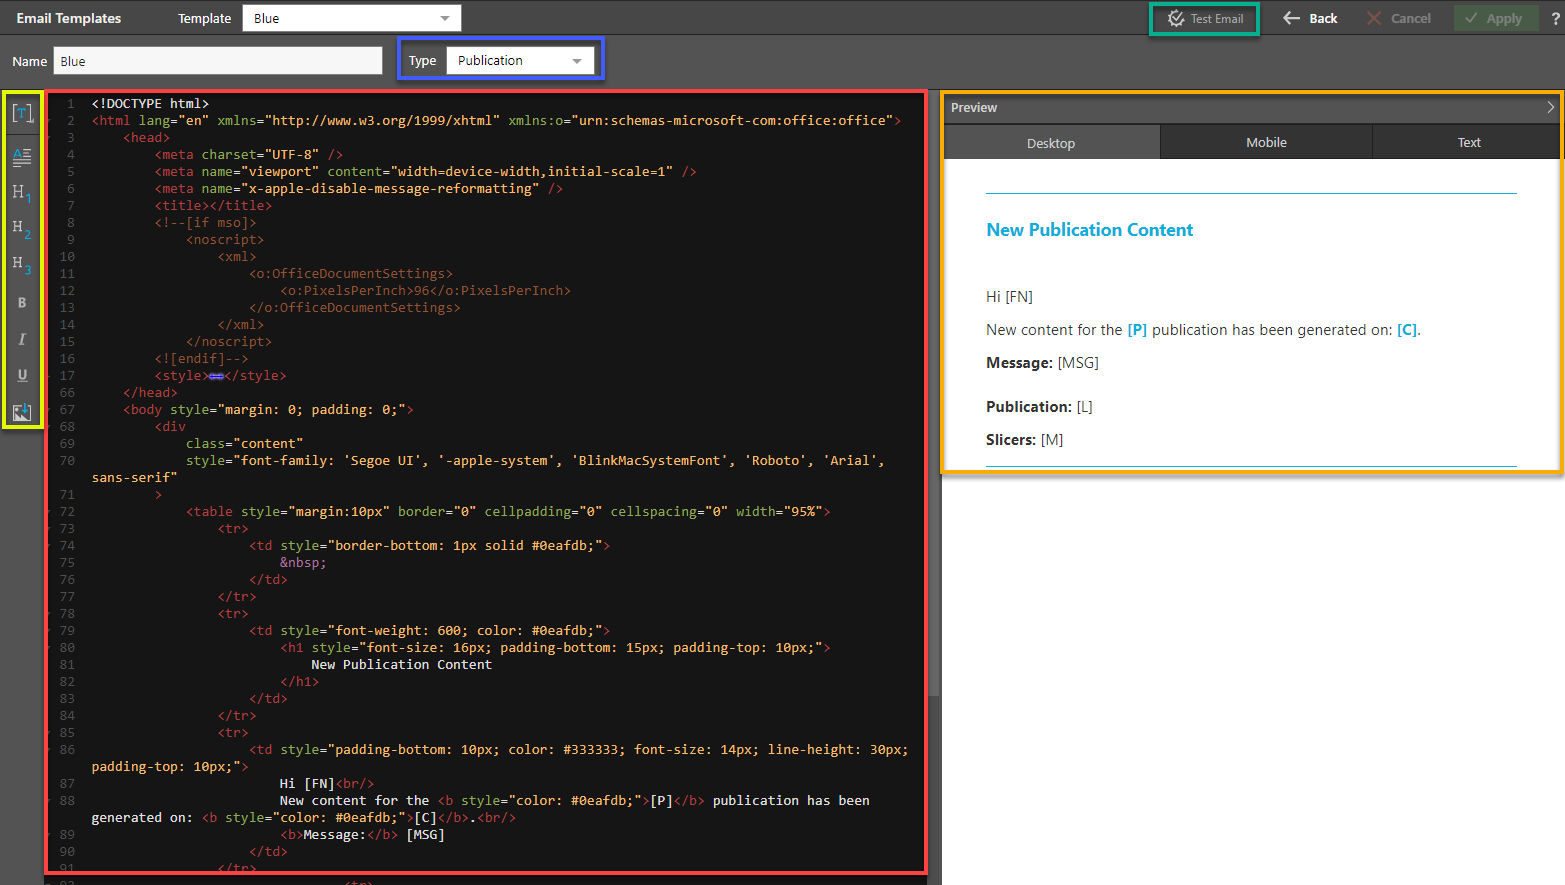
- The HTML code (red box) for the email template appears on the canvas. It can be further modified.
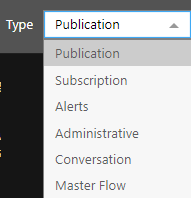
- The template can be created for distinct types of emails (blue box): Publications, Subscriptions, Alerts, Administrative, Conversation, and Master Flow.

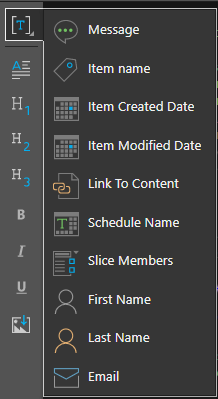
- Right-clicking on the [T] button (yellow box above) allows the user to add the message, item name, create and modified date, link to content, schedule, and slice members to the body of the email. The options displayed are dependent on the type of email selected (Publications, Subscriptions, Alerts, Administrative, Conversation, and Master Flow)

- Users can modify the HTML script on the canvas (red box) using the scripting buttons to change the paragraphs, headings, font style, and so on.
- The preview panel (orange box above) allows users to preview the generated email by clicking on the desktop, mobile, and text tabs.
- By clicking on the Test email button (green box above) on the top right-hand side of the page, an email will be sent to the user to see how the email appears.
- Once the email template has been created, it can be selected as the default template for the system by checking the default checkbox on the main email templates screen.
- The newly created template can also be selected as the default for a specific tenant in the "Edit Tenant" page.